The route is always the same
Nine steps, in order, each unlocking the next. You never open a case and wonder what to click first, and neither does anyone you hire.
The nine steps
A splint is not one operation, it is a sequence. Here is each step, what it hands to the next, and what you decide along the way.
Drop in the upper and lower scans exactly as the scanner exported them. STL or PLY, no conversion.
Loose fragments, spikes and holes go, and the mesh is closed, so nothing downstream trips over bad geometry.
The arch is set on the occlusal plane. Everything after this measures against that, which is why it happens early.
The two arches are brought into occlusion and the bite is fixed, so the table is built against a real antagonist.
Teeth are separated from gingiva. The splint has to know what it sits on before it can decide where to grip.
Undercuts are shown on the scan, then filled with wax along the insertion axis. You choose what holds and what lets go.
Draw the border once. It follows the arch and spans a diastema rather than dropping into it.
The shell is built over the blockout in one pass: coverage, wall height, thickness and the flat occlusal table.
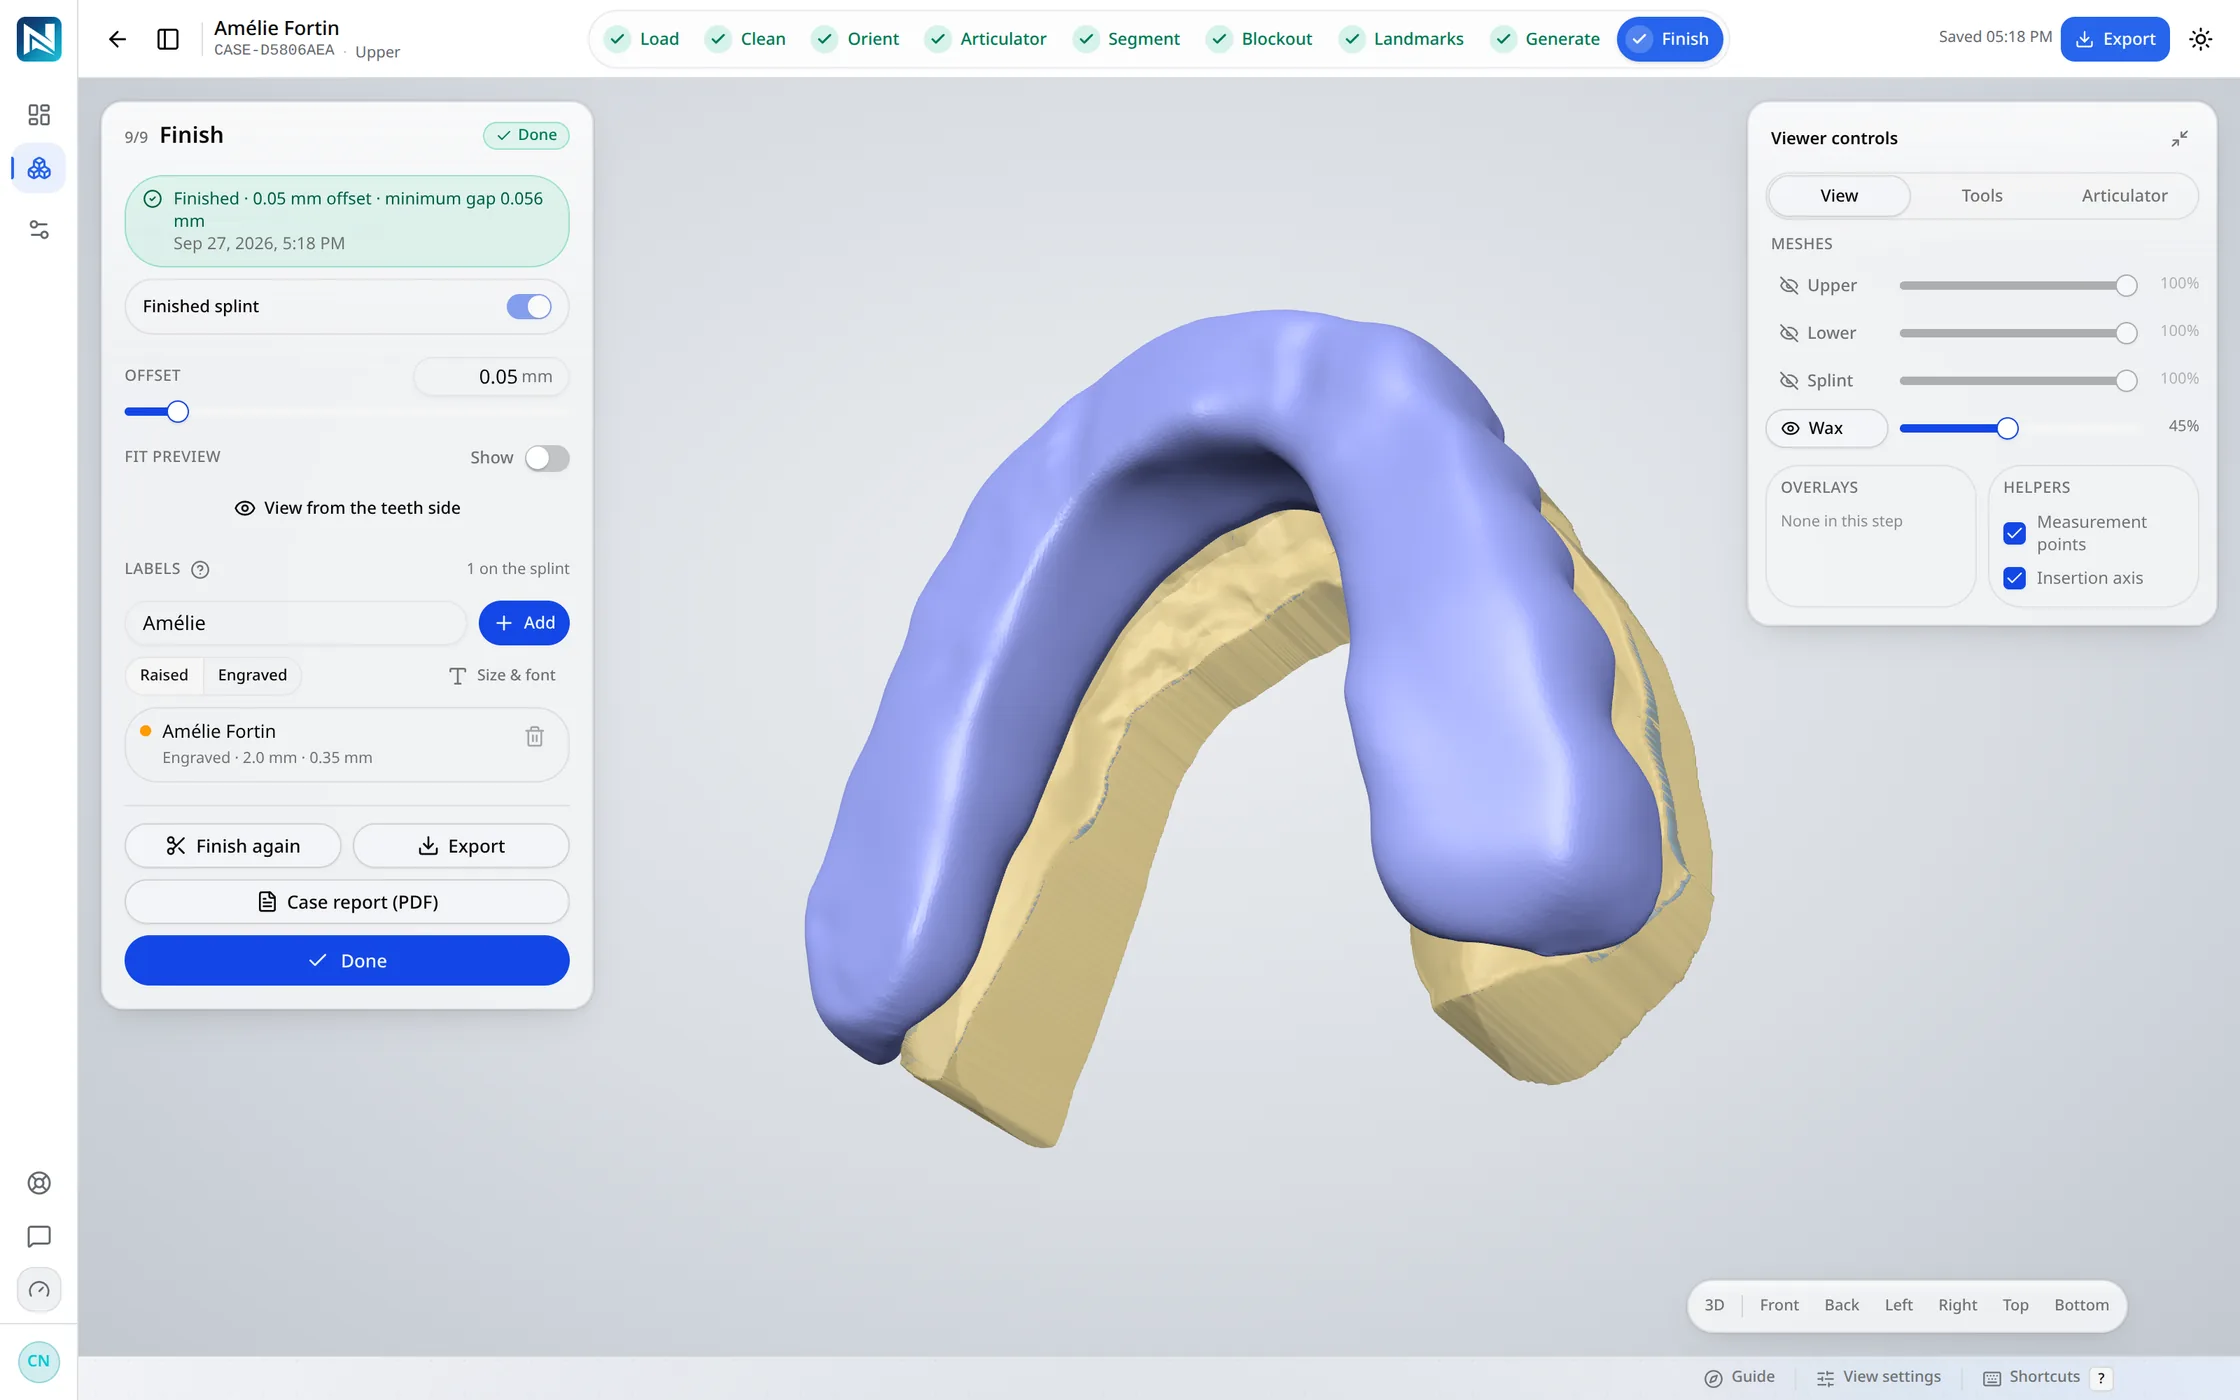
The wax is cut away, the fitting surface is relieved, the case is written into the mesh, and the STL is ready for the printer.
Cleaning, orienting, re-running a step and regenerating a report are unlimited on every plan. You are only counted when you export.
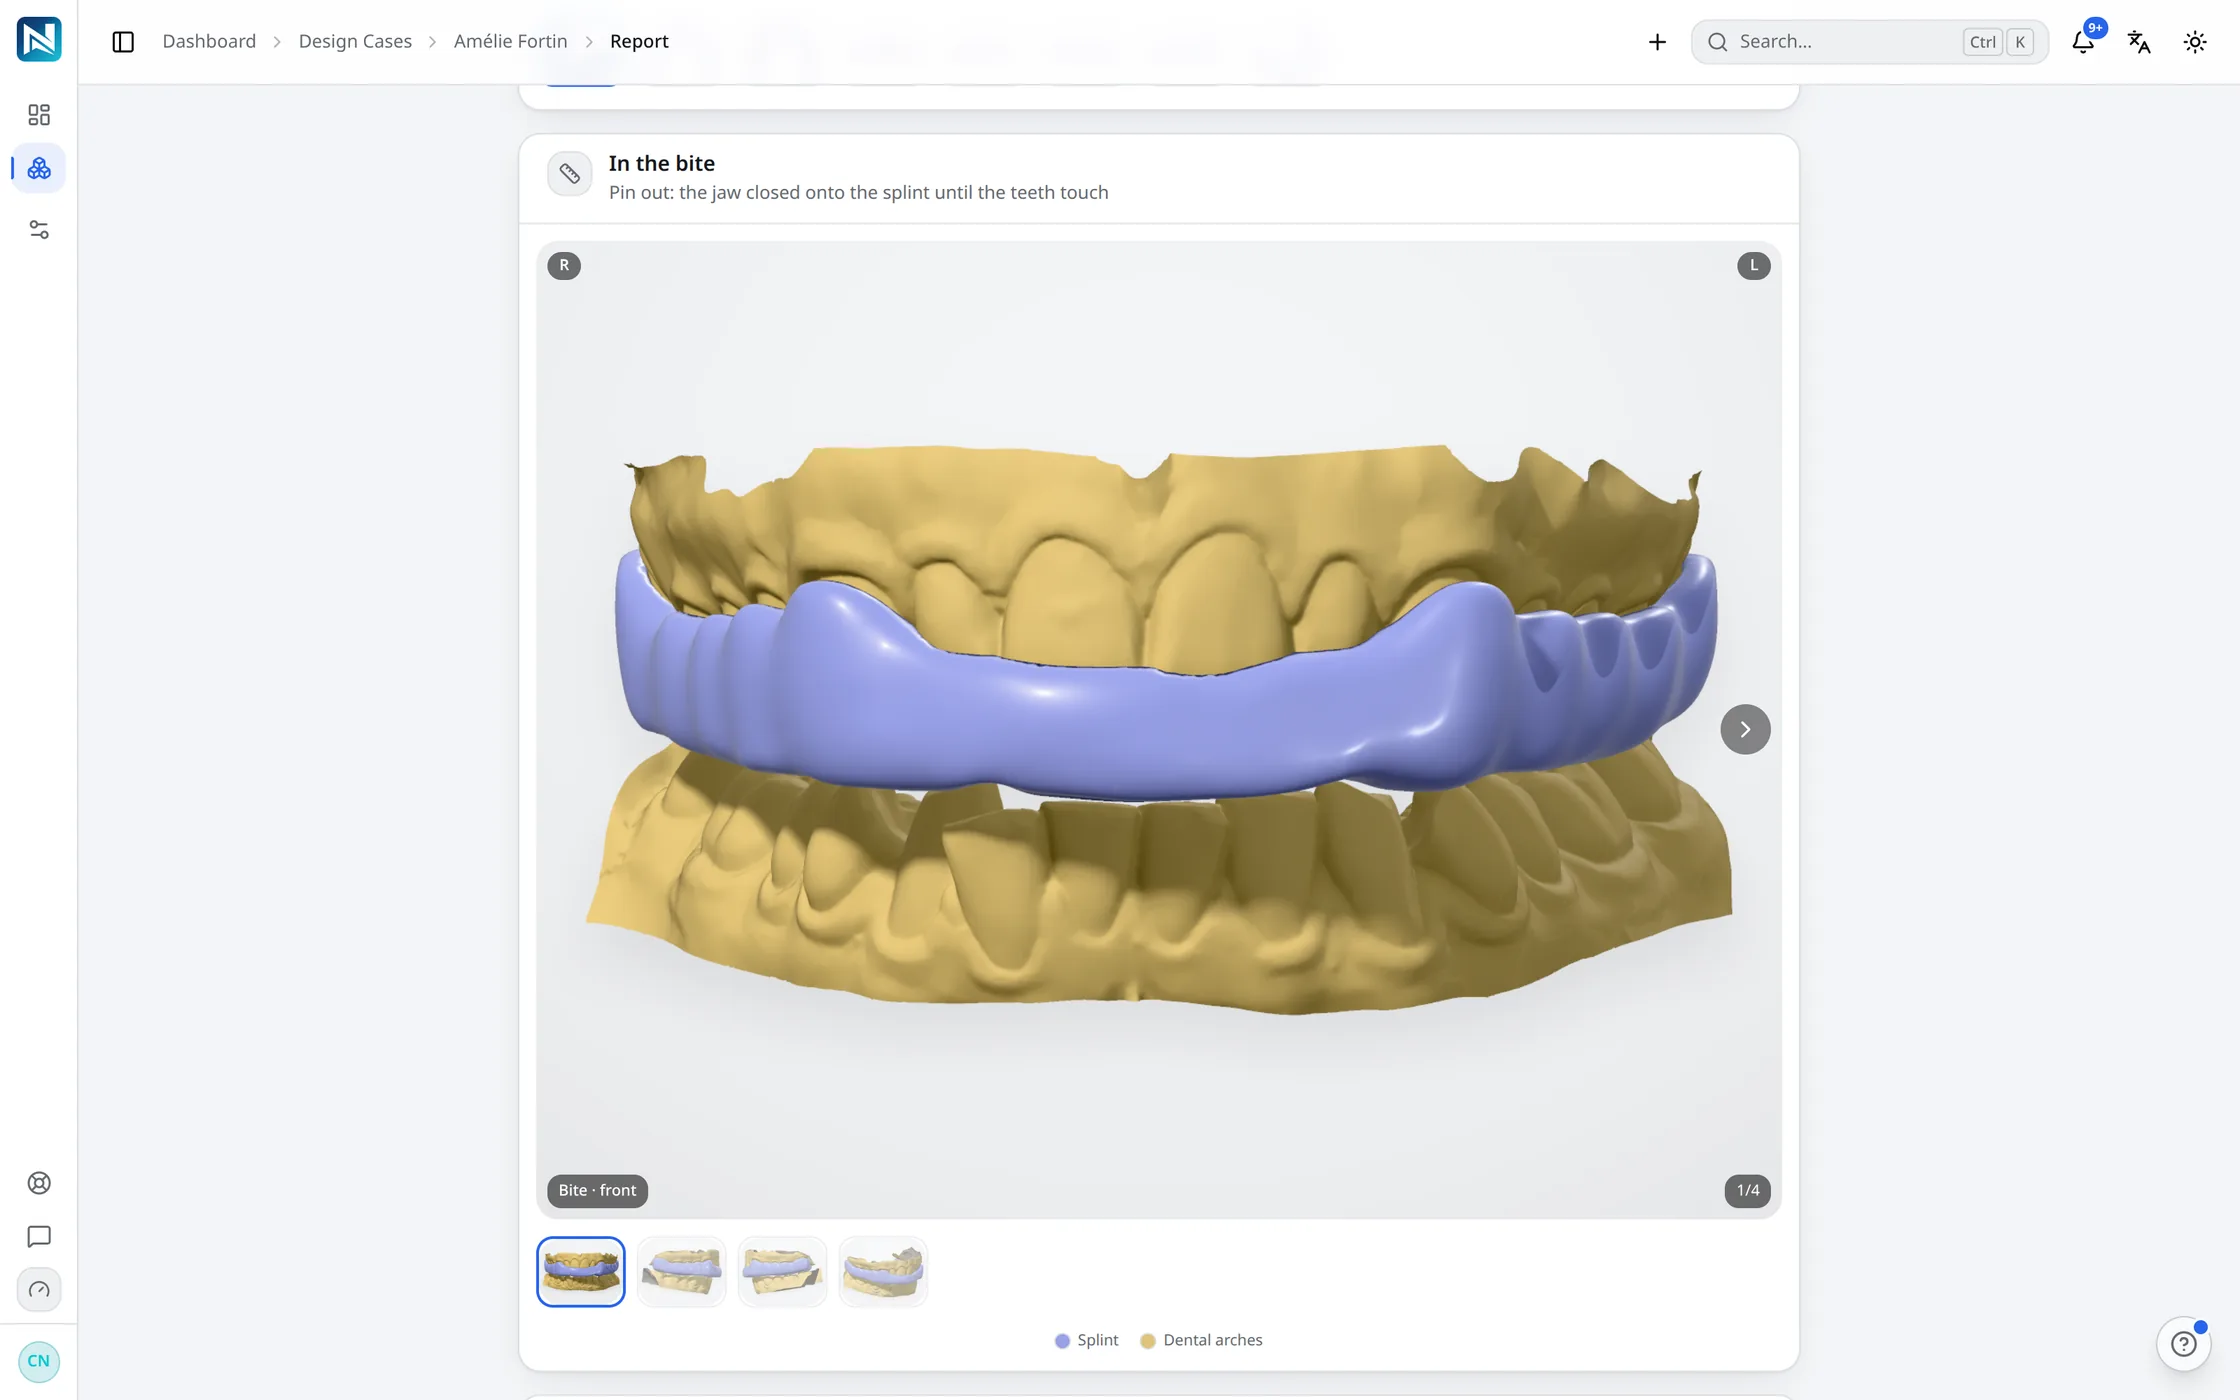
Every finished case produces a report: the prescription on a tooth chart, the splint from eight angles, the settings it was built with and the thickness map. Print it for the chart, or send it with the file.
Why it is quick
None of this removes a decision from you. It removes the dragging, the re-measuring and the guessing.
Nine steps, in order, each unlocking the next. You never open a case and wonder what to click first, and neither does anyone you hire.
Undercuts are found along the insertion axis and filled with wax. You are shown them on the scan first and you choose which ones keep the splint on.
A flat, balanced table with an even stop on each opposing cusp, in one pass. This is the part that takes the longest by hand.
Trace it once. It follows the arch, snaps to the teeth and jumps a gap instead of diving into it.
The shell is offset from the blockout wax, the surface the splint really sits on — not from the raw scan. The minimum you set is the minimum that prints.
It runs in the browser on the machine you already have. No licence per workstation, no graphics card to specify, no update to schedule.
Fourteen days and three exports, free, on your own cases — and the sample case that comes with every new workspace never counts.
No credit card. Setting up takes about two minutes.